How to Use Green Screen on CapCut in 2026 – Step-by-Step Beginner Friendly Guide
What Is Green Screen Editing in CapCut?
Green screen editing may look hard at first. When you try green screen editing it feels very easy. Use green screen on CapCut editing feature helps you remove a green background from your video and replace it with any scene you like such as a beach, a city view or even space. The green screen editing method is known as chroma key. People use chroma key a lot in movies, YouTube videos and social media content.
When you apply the screen on CapCut you are simply asking CapCut to remove the green color and keep everything else. The CapCut app then detects the shade and removes it neatly. From what I have noticed about CapCut, CapCut performs well for a free editor especially when compared to older mobile apps that struggle to create clean cutouts.
A lot of people who are just starting out think they need to pay for tools like CapCut Pro. The truth is, the basic CapCut version is really good and it has strong green screen features. This is what makes CapCut so useful. You do not need to spend a lot of money on a setup to make your edits look professional. If you have ever wondered how people can put themselves in backgrounds so easily it is because they use CapCut green screen features.
Why Green Screen Is So Popular Today
Green screen editing has really taken off. I mean just think about it. If you are on TikTok or Instagram Reels you will see that Green screen editing is everywhere. Creators are always putting themselves in scenes or cool places. This is what makes Green screen editing great. It gets your attention away.. That is what people need from their content today.
CapCut is popular because it is easy to use. CapCut is a tool that makes editing videos even for people who are new to editing videos. In the past people needed to use computer software like CapCut PC but now people can edit videos on their phone using CapCut. This change has made a difference in the way people edit videos.
Green screen also helps you tell stories. You are not limited to one place so you can explain ideas, react to clips or create tutorials with the green screen. In use this makes your content feel more active and less dull when you use the green screen.. Honestly this is what keeps viewers watching longer when they see the green screen.
Can You Really Use Green Screen on CapCut?
You will find that you can do it well with CapCut. CapCut has a built-in chroma feature that works well on both mobile and desktop versions of CapCut. Whether you use CapCut for iOS or Android the process is the same, for CapCut.
The good thing about CapCut is there is no need for a setup. As long as your video has a clear green background CapCut removes it with only a few taps. Even if the lighting is not ideal you can fix it using intensity and shadow settings.
Some beginners ask if CapCut Premium is necessary for this feature. The answer is no—the green screen tool is available in the free version. Premium just adds extra filters and assets, but the core functionality remains accessible.
Requirements Before You Start
Before you go into editing, you should get a few things ready. Trust me, if you skip this, your results may look messy, and many beginners do this.
You’ll need:
- A video with a clean green background
- Good lighting (this makes a huge difference)
- CapCut installed (latest version works best)
If you use an emulator like LDPlayer the steps are the same.. Performance can be different on your computer. I found that smooth playback makes editing easier. This is especially true when you adjust details.
How to Use Green Screen on CapCut (Beginner Guide)
If you are just starting this is the way to understand the full process of the full process. You should not overthink the process because the full process is more about following the right steps of the full process than having advanced skills for the full process.
Step-by-step guide
- Launch CapCut and click on “New Project” to start a new project.
- Select your main background video or image first.
- Tap on “Overlay” at the bottom menu.
- Add your green screen video as an overlay.
- Select the overlay clip and choose “Chroma Key.”
- Use the color picker tool and tap on the green area.
- Adjust intensity and shadow until the green disappears.
- Resize and position your subject as needed.
That’s it. You’ve just completed your first green screen edit. Sounds simple, right? That’s because it is—once you get the hang of it.
Interestingly, many users search for how to use green screen on capcut, thinking it’s complicated, but the actual workflow is very beginner-friendly. The real skill comes later when you start refining details.
How to Add Green Screen on CapCut Properly
Adding a green screen clip correctly is half the battle. If you mess this up, everything else becomes harder. The goal is to layer your clips in the right order so CapCut can process them properly.
Complete steps
- Start a new project and import your background clip.
- Tap “Overlay” and then “Add Overlay.”
- Choose your green screen video from your gallery.
- Place it above the main video in the timeline.
- Adjust the size and position before applying the chroma key.
- Make sure the subject is centered and visible.
Many beginners searching how to add green screen on capcut forget one key thing—your overlay must sit above the main clip. If not, the effect simply won’t work.
Also, avoid using low-quality clips. From what I’ve seen, blurry green screens make it harder for CapCut to detect colors accurately. A clean, bright green background always gives better results.
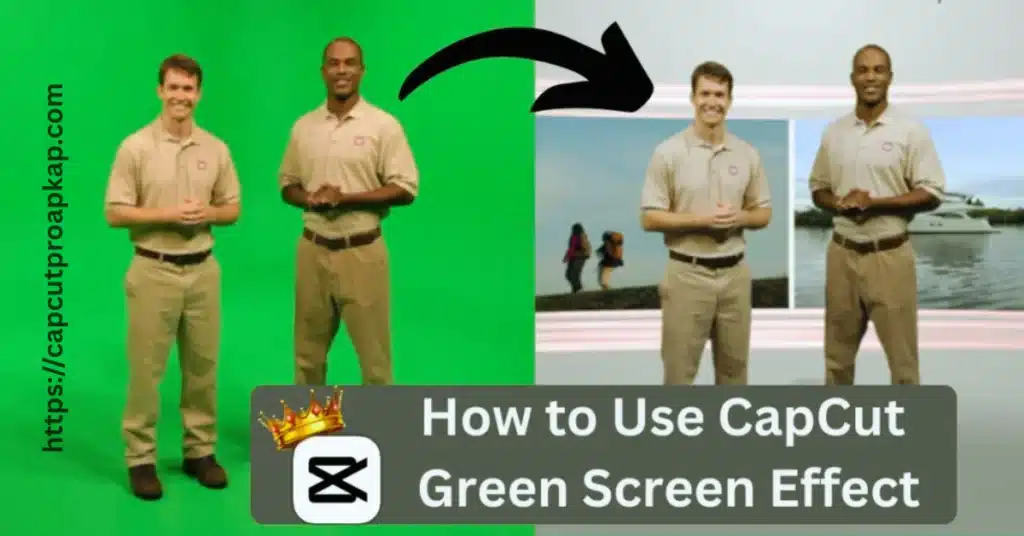
How to Remove Green Screen on CapCut Easily
Now comes the most satisfying part—removing that green background completely. This is where the magic happens, and your video starts looking professional.
Method
- Tap on your overlay clip in the timeline.
- Select “Chroma Key” from the menu.
- Use the color picker and tap on the green area.
- Increase intensity slowly until the green disappears.
- Adjust shadow to fix rough edges.
- Preview your video and fine-tune settings.
If you’ve ever searched how to remove green screen on capcut, this is exactly the method you need. It’s straightforward but requires a bit of patience when adjusting values.
In real use, lighting plays a huge role here. Uneven lighting results in shadows that’re difficult to remove. That is the reason professionals give importance to good lighting when recording.
How to Edit Green Screen on CapCut Like a Pro
Once you’ve removed the green background, the real creativity begins. Editing is where your video goes from “just okay” to something that actually grabs attention. People often stop after they remove the screen from their video.. Removing the green screen is only the first step. If you want your video to look really smooth and natural you should take a look at the details of the green screen removal.
When working on how to edit green screen on capcut, the key is blending. Your subject should not appear like a pasted layer on the background. It should match the scene and feel natural. That means adjusting brightness, contrast, and even color tone so everything matches.
From what I’ve seen, lighting mismatch is the biggest giveaway. If your background is warm but your subject looks cool-toned, viewers notice it instantly. Try adding a blur to the background in CapCut it adds depth to your video in CapCut and makes your subject pop in CapCut. You can solve this problem in CapCut with filters and manual adjustments in CapCut.
Many creators also use a trick called shadow simulation. CapCut allows you to tweak shadows slightly, which helps ground your subject. Shadows really matter in life. Without them your subject just seems to float and the illusion gets broken.
Adjusting Chroma Key Settings
Fine-tuning chroma key settings is where beginners struggle the most. It’s not just about removing green—it’s about removing it cleanly without damaging your subject.
Start by adjusting intensity slowly. Don’t just drag it all the way up. If you do that, parts of your subject might disappear, especially if they have greenish tones. Then move to the shadow setting. This helps clean up rough edges and gives a smoother outline.
Many users searching how to do green screen on capcut often ignore edge refinement. That’s why their videos look jagged or unnatural. Take some extra seconds here, it makes things better.
Common Mistakes Beginners Make
To be honest everyone makes mistakes when they start doing green screen editing. Green screen editing seems simple when you watch tutorials. Small mistakes can damage the final result of your green screen editing. The good news is that most of these mistakes in green screen editing can be fixed once you know what to look for in your green screen editing.
One thing that can go wrong is when the lighting is poor. If the green background that you are using is not lit evenly or has shadows then CapCut has a time removing the green background fully. This means that you will have areas in your video. Another thing that people do wrong is wear clothes and a lot of people still do this.
Some users still use CapCut versions like downloading the CapCut old version apk. These old versions may not have the chroma key updates. Using an updated CapCut version gives you performance and cleaner results.
I think a big problem is when people over-edit their videos. They use many effects, filters or animations and it makes the video look really messy. I like it when things are simple and it gives results. You should focus on telling a story instead of using every single feature.
What to Avoid
If you want clean results, avoid these:
- Uneven lighting on your green screen
- Low-resolution green screen clips
- Overusing filters and transitions
- Ignoring edge cleanup in chroma key
- Using mismatched backgrounds
From my experience, beginners who fix these mistakes early improve much faster. It is more about details than talent.
Tips to Improve Your Green Screen Videos
To make your videos stand out you need to do more than editing. Small improvements change how your content looks and feels.
To make a video you should start by using good lighting when you are filming. Natural light is the best. It has to be even so your video does not look weird. Next you need to use a high-quality background that looks good on camera. A blurry or pixelated background ruins the illusion instantly. If you’re serious about content creation, consider upgrading tools or exploring features from CapCut APK Download versions that offer better assets.
Another tip is to match perspective. If your background is shot from a certain angle, your subject should match that angle. Otherwise, it looks off. Also, pay attention to motion. If your background is moving, your subject should have some movement too.
In real use, soft sound effects or ambient noise can boost realism. It is not only visuals, audio also helps with immersion.
Pro-Level Enhancements
To take things further:
- Add light effects to match your background
- Use motion blur for fast movements
- Adjust color grading for consistency
- Add shadows manually for realism
Many creators asking how to green screen on capcut stop at basic edits, but these enhancements are what separate average videos from professional ones.
CapCut Features That Help Green Screen Editing
CapCut isn’t just about chroma key—it offers a bunch of features that make green screen editing easier and more powerful. When you know these tools you can work faster. Get better results.
For example overlays let you add layers. This is really important for green screen editing. Filters and effects help match colors, while keyframe animation lets you create movement. If you’re working on a bigger screen, using CapCut Mac gives you more control and precision.
Some users prefer advanced versions like CapCut Pro APK, but honestly, most green screen tasks can be done in the free version. The premium tools mainly add convenience rather than necessity.
Free vs Paid Features
| Feature | Free Version | Paid Version |
| Chroma Key | Yes | Yes |
| Basic Filters | Yes | Yes |
| Advanced Effects | Limited | Full Access |
| Stock Assets | Limited | Expanded Library |
| Export Quality | High | Higher Options |
If you are just starting, the free version of the software is fine for you. You can upgrade the version later if you feel the free version is limited.
Conclusion
When you learn to use green screen in CapCut you can make really cool videos. It is not about removing backgrounds, it also helps you tell better stories with green screen and make engaging content with green screen. Once you know the basics of screen practice makes things easier with a green screen.
I noticed that being consistent is more important than being perfect when making videos. My early video edits were not great. That is normal. I kept testing and learning from each video about consistency.
To improve you should try backgrounds. Testing lighting setups and using editing tools can also help. That is how you grow as a creator. Now it’s your turn, CapCut and start making something unique.
FAQs
How to use green screen on capcut mobile?
Follow these steps. Import your background video. Then add your green screen clip on top. Use a chroma tool to remove the green color. Adjust intensity and shadow. You want a result. That’s it.
Can you do green screen on capcut without premium?
Yes, you can use it. CapCut’s free version includes the chroma key tool. You don’t need CapCut Premium to remove green backgrounds. However, premium tools can improve quality and give more editing options.
Why is my green screen not removing properly?
This usually happens due to poor lighting or low-quality footage. Uneven green shades make it harder for CapCut to detect the background. Try using better lighting and a smooth green surface for best results.
How to remove green screen on capcut completely?
Use the chroma key tool and carefully adjust intensity. Don’t push it too high. Increase shadow slightly to smooth edges. If you have to you can adjust the brightness and the contrast to get a result that is really good.
Why does my green screen look bad in CapCut?
The reason for this issue is lighting or low-quality footage in most cases. Shadows and wrinkles in the green background can cause issues. Fixing your recording setup often solves the problem better than adjusting app settings.