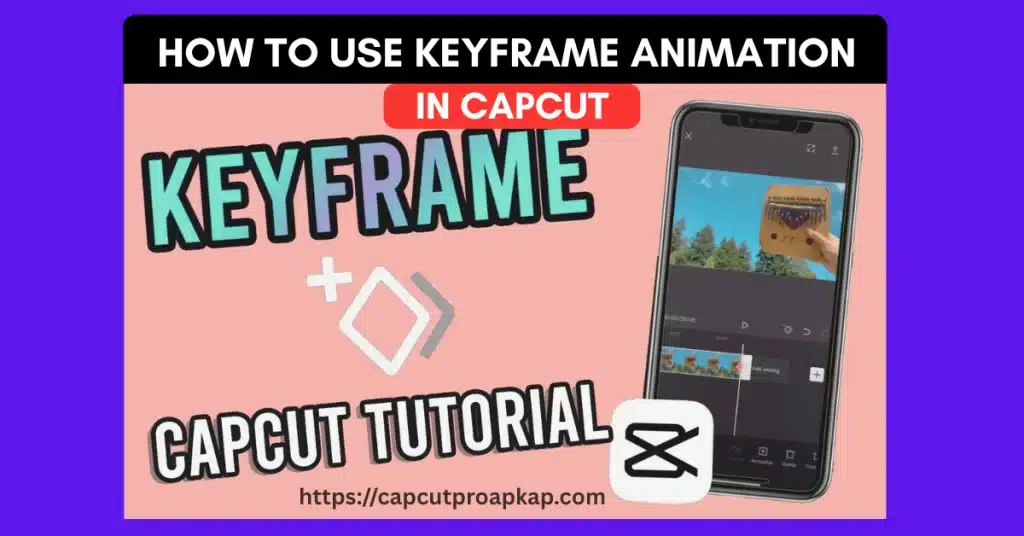
How to Use Keyframe Animation in CapCut? – Easy Powerful Guide 2026
Introduction
Keyframe Animation in CapCut improves the way your videos move. It allows smooth control of text, pictures, and clips. You can zoom, rotate, and slide content with ease. Once you know it, your videos look more interesting.
Many new users think animation is hard. But Keyframe Animation in CapCut is easy and clear. You only place points and adjust the size or location. Nothing complex. Even beginners can learn it within one day.
What Is Keyframe Animation in CapCut?
Keyframe Animation in CapCut is the process of marking points where movement or change appears. A keyframe acts like a clear marker. At one point, you set the starting position. At another point, you set the ending position. CapCut fills the movement between them.
For example, you place a keyframe at the second one. The text stays in the center. Then you move to the second three and drag the text to the left. CapCut creates smooth motion from center to left. Simple, right?
You can find the keyframe button when you tap on a clip. Look for the small diamond icon. That diamond is your control point. Tap it once to add a keyframe. Tap again at another time to create motion.
Many creators using CapCut For iOS enjoy this feature because it works smoothly on mobile. It is fast and easy to control with your fingers.
Where to Find Keyframe Tool in CapCut?
After selecting your video or text layer, you will see editing options below. Look for the small diamond shape. That is the keyframe button. Tap it to start your animation.
Why You Should Use Keyframe Animation in CapCut?
If you want your videos to look professional, you need motion. Static videos feel boring. But when text moves slowly or camera zooms softly, it feels cinematic.
Keyframe Animation in CapCut helps you create that smooth effect without extra apps. You can make an intro text slide in. You can zoom on a face during an emotional moment. You can even rotate objects for fun edits.
I remember when I first used it for a travel vlog. I added a slow zoom to the sunset clip. It looked like a drone shot, but honestly, it was just phone footage. That is the magic.
Many users who upgrade to CapCut Pro get extra filters and effects. You can check CapCut Pro if you want more creative tools with animation features.
Is Keyframe Good for Short Videos?
Yes, I think this is ideal for clips. You know the kind of clips you see on reels and TikTok videos. It is what you need for those. Small movement keeps viewers watching longer. Smooth zoom and slide effects make content more engaging.
How to Add Keyframe Animation in CapCut Step by Step?
Now let us go step by step. Do not rush. Open your app and follow slowly.
- Open CapCut and tap New Project.
- Import your video clip from the gallery.
- Wait for it to load in the timeline.
- Tap on the clip you want to animate.
- When it is selected, you will see editing tools.
- Find the diamond icon.
- Move the playhead to the starting point.
- Tap the diamond.
- This is your first keyframe.
- Now move the playhead forward. Maybe two or three seconds ahead.
- Change the size, position, or rotation of the clip.
- CapCut will automatically create the second keyframe.
- You will see another diamond appear.
- Press play. You will see smooth movement between two points.
- That is Keyframe Animation in CapCut working.
If motion feels too fast, increase distance between keyframes. If it feels slow, move them closer. Some users download CapCut APK Download versions from different sites. But honestly, always choose safe sources. It protects your device and data.
How Many Keyframes Should You Use?
Do not add too many at first. Two or three keyframes are enough for simple motion. Too many can make movement look messy and fast.
How to Use Keyframe for Text Animation?
Text animation looks very nice with keyframes.
- Add a text layer first. Place it on a timeline.
- Move the playhead to the starting point and add the first keyframe.
- Now move forward a few seconds.
- Drag text from bottom to center, this creates a slide up effect.
- You can also change opacity for fade in effect.
For example, set opacity zero at the first keyframe. At the second keyframe, set it to hundred. The text will slowly appear. It feels smooth and clean.
Users who try CapCut Pro APK often explore more advanced text styles with animation. Extra fonts and presets make text animation even better.
Simple Text Slide Example
Add the first keyframe with text outside the screen. Add a second keyframe with text in center. Play video. You will see smooth slides in effect.
How to Use Keyframe for Zoom In and Zoom Out?
Zoom effect is the most popular use of Keyframe Animation in CapCut. It gives a cinematic feel. It looks like the camera is moving closer.
- Add the first keyframe at normal size.
- Move playhead forward.
- Increase scale to zoom in. That’s it.
- CapCut creates smooth zoom automatically.
- For zooming out, do the opposite.
- Start with a bigger scale.
- Then reduce it to the next keyframe.
If you edit on CapCut For PC, you will find it easier to control exact scale using a mouse. On a bigger screen, adjustments feel more accurate.
Some people search for CapCut Pro APK Download to unlock more advanced features. But for keyframe zoom, even the free version works well.
How to Make Zoom Smooth?
Try to keep your zoom soft and steady. Do not jump from 100 percent to 200 percent at once. A small shift like 100 to 115 percent on zoom looks better.
Advanced Tips for Smooth Keyframe Animation
Once you understand the basics, you can try more creative things. Add more than two keyframes to create curve-like motion. Small position change gives natural effect.
Combine keyframes with transitions. For example, zoom in and then add fade transition. It looks clean. If you use CapCut For Mac, you get a bigger preview screen. It helps you notice small movement errors.
Some editors try CapCut Mod APK for unlocked features. But always be careful with modified apps. Security matters. If your app feels different, maybe you are using the CapCut Old Version. Update to latest version for better performance and smoother animation.
Use Small Movements
Big movements look dramatic. Small movements look professional. Keep it soft and steady.
Common Mistakes Beginners Make
When beginners begin with Keyframe Animation in CapCut, they feel excited. They add too many movements. Too much zoom. Too much rotation. Honestly, this is the first mistake.
If you place keyframes too near, the video shakes. It feels jumpy. Viewers may feel odd. Keep it easy. Two or three keyframes are enough. Another mistake is not checking the preview. After adding keyframes, always press play. Watch the full clip. See if motion feels smooth. Sometimes small changes make a big difference.
Many beginners also forget to reset their positions correctly. They move the clip randomly and cannot understand why motion looks strange. Well, take your time. Adjust slowly. If you are using CapCut For iOS, use two fingers to resize carefully. On a small screen, mistakes happen easily. Zoom in the timeline for better control.
And one more thing. Do not copy every trend blindly. Some edits look good for others, but maybe not for your content. Use Keyframe Animation in CapCut wisely. Not for every clip.
Keep It Natural
Animation should support your story. It should not distract. Small smooth motion looks better than loud fast movement.
Using Keyframe Animation in CapCut on Different Devices
The good thing is, Keyframe Animation in CapCut works on many devices. You can use it on mobile, tablet, or computer. The steps are almost the same.
On CapCut For PC, editing feels more precise. You can drag clips with a mouse. The screen is bigger. It is easier to control scale and position. Many YouTube creators prefer the PC version for detailed edits.
For more detail how to use keyframe animation in CapCut PC read >> How to Make Smooth Keyframes in CapCut PC? Simple Guide 2026
If you use CapCut For Mac, the experience is also smooth. Performance depends on your system, but overall animation tools work the same way.
Mobile users love CapCut For iOS because it is simple and fast. You can edit anywhere. On the bus, in the café, at home. Just open the app and start creating.
No matter which device you use, the concept of keyframe is the same. Add the first point. Move forward. Change value. Preview. Adjust.
Some users try CapCut APK Download from third party sites for Android devices. Always choose a trusted source. Safety is important.
Is PC Better for Keyframe Animation?
The PC gives more control and a bigger screen. But honestly, the mobile version is powerful too. Choose what feels comfortable for you.
Free vs Pro Version for Keyframe Animation
Many people ask if they need a paid version for Keyframe Animation in CapCut. The simple answer is no. The basic keyframe tool is free. However, CapCut Pro gives extra features. You get premium effects, filters, and advanced tools. If you want more creative options, CapCut Pro can help.
Some users search for CapCut Pro APK or CapCut Mod APK to unlock features without payment. But modified apps can be risky. They may harm your device or steal data. So be careful. If you want an official upgrade, look for a safe CapCut Pro APK Download from a trusted platform. Always think about security first.
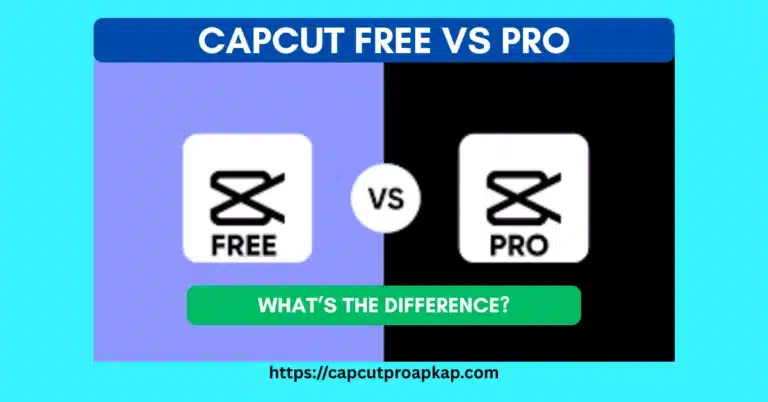
Even if you use the free version, you can still create amazing animation. The keyframe tool works fine. Skill matters more than premium tools. If your app does not show the latest features, maybe you are using CapCut Old Version. Update app from official store for best experience. For more detail read >> CapCut Free vs Pro: What’s the Difference?
Do You Really Need Pro?
If you edit daily or for business, Pro is useful. If you edit for fun, a free version is enough. Practice matters more.
Simple Real Life Example of Keyframe Use
Let me share a small example. Suppose you are making a food vlog. You show a plate of noodles. Instead of static shots, add slow zoom using keyframes. It makes the dish look more tasty. Or maybe you create a study vlog. Add text that slowly slides from left. It feels clean and modern. Viewers stay longer.
I once edited a birthday video. I used Keyframe Animation in CapCut to slowly zoom on a smiling face. The emotion felt stronger. It looked like a professional edit, but honestly, it was just two keyframes.
That is why I say, do not ignore this tool. It is simple but powerful.
Conclusion
Keyframe Animation in CapCut is not hard. It is simple and practical. You just add points and change position, scale, or rotation. CapCut does the rest for you. With small practice, your videos look smooth and professional. Use two or three keyframes first. Keep motion soft. Always preview your clip. Whether you use mobile or PC, the steps are the same. Slowly you will gain confidence.
Now open your app and try Keyframe Animation in CapCut today. Practice one zoom effect. Then try a text slide. Step by step, you will improve.
FAQs
What is Keyframe Animation in CapCut?
The keyframe animation tool in CapCut is great for making photos, videos, text and stickers come alive. You just mark some points on the timeline and CapCut makes everything move naturally between those points so your videos look really polished.
Is keyframe available in free CapCut?
Yes, keyframe animation is available without a paid subscription in CapCut. You can add and edit keyframes on videos, images, and text, while advanced features and selected visual assets may only be available in Pro.
How many keyframes should I use?
There is no rule that says how keyframes you should use. Most of the time two or three keyframes are enough for animations.. If you are making something more complicated you will need more keyframes to get the effect you want.
Can I use keyframe for text animation?
You can definitely use keyframes to make text move in CapCut. This means you can make the text bigger, smaller turn it around or make it appear and disappear slowly which makes the titles and captions look really nice.
Does CapCut For PC support keyframe animation?
Yes, keyframe animation is available in CapCut for PC. It provides more precise editing than mobile, making it easier to create advanced animations, smooth transitions, and professional quality video effects.
Why my animation looks shaky?
Having many keyframes or large movements between them can make your animation look shaky. You should use keyframes when you can and create gradual transitions for a more natural effect.
Start practicing today. Small steps lead to big improvement. Keep creating and enjoy editing.