How To Export My Custom Resolution Video On CapCut – Full Guide 2026
How to export my custom resolution video on CapCut — okay so this is something I personally struggled with for a while. I kept tapping around the app not really sure what half those settings even meant. The video would come out blurry. Or way too large. One time it just looked weird and pixelated on my phone but fine on my laptop. Very frustrating.
If you’ve had any of those same issues, you’re in the right spot. I’ll walk you through everything — iPhone, Android, PC, Mac — so you actually understand what you’re doing instead of just guessing.
CapCut Pro is what a lot of creators use these days and honestly it’s because the export settings are actually pretty flexible once you know where to look. Let me show you.
What Even Is Custom Resolution in CapCut?
Okay quick thing before we get into steps. Resolution just means the size of your video frame. Like 1920×1080 is the standard horizontal HD. 1080×1920 is vertical, which is what you’d use for Reels or TikTok. Some people need something in between — maybe a square video, or a specific size a client gave them.
CapCut lets you control this. You’re not stuck with just one preset. That’s the whole point of custom resolution — you pick the exact width and height you need.
Why would you care about this? Well a few reasons:
- Your platform might require a specific size
- You’re matching another video’s format for a series
- A client gave you exact pixel dimensions to follow
- You just want better control over how your final video looks
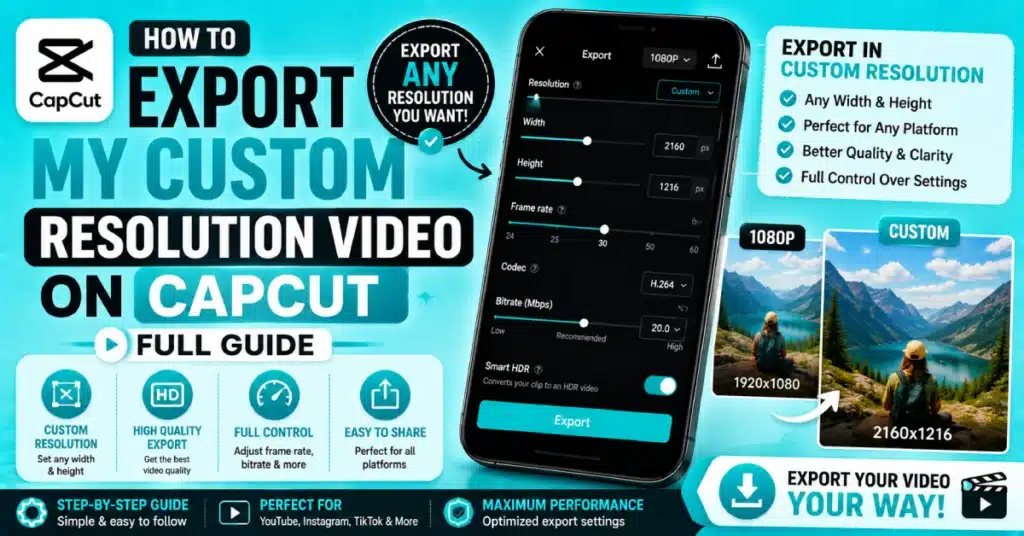
How To Export My Custom Resolution Video On CapCut on iPhone?
I’ll start with the iPhone since that’s what most people are on. So this is really simple once you’ve done it once.
First open your project. Finish all your edits. Then look at the top right of the screen — there’s an arrow or “Export” button up there. Tap it.
Now you’ll see the export settings. You’ll get a few options:
- Resolution — tap this and pick what you want. Options usually go from 480p all the way up to 4K
- Frame rate — 30fps is totally fine for most content. 60fps if you have fast motion or gaming
- Tap Export when you’re done picking
New app versions have a “Custom” option. You can find it under resolution. This option lets you type your width and height for custom pixel dimensions. If it is not there just update the app. That often fixes the problem.
One thing I noticed — the higher the resolution, the longer it takes. So if you’re on an older iPhone and it’s taking forever, try dropping to 1080p. Still looks sharp. Storage space matters too so make sure you’ve got room before you start.
If you haven’t already, grab CapCut for iOS — always use the latest version so you get all the export features.
How To Export Video in CapCut PC Without Paying?
Let me tell you something — people assume you have to pay for everything on CapCut PC. That’s just not true. There are some locked options behind Pro, yeah. But for regular everyday exporting? You’re fine without it.
Open CapCut on your computer. Finish your edit. Then hit the Export button — it’s at the top right, can’t miss it. A little window pops up with your export settings.
You’ll see:
- Resolution options from low to high
- Frame rate selector
- Codec choice (H.264 is the safe pick — works everywhere)
- Bitrate slider
To export videos in CapCut PC at no cost I use these settings. 1080P 30 frames per second H.264. Recommended bitrate. It offers results. Honestly that’s what I use for most of my videos and they look clean.
The 4K and some higher bitrate settings are behind the paid plan. But unless you’re doing professional filmwork, 1080p is enough for YouTube, Instagram, TikTok — all of it.
Exporting Step by Step on CapCut PC
Here’s how to export a video in CapCut PC from start to finish. Just go in order and you won’t miss anything:
- Make sure your timeline edits are done and saved
- Click Export at the top right
- Pick your resolution — 1080p for most cases
- Set frame rate to 30fps or 60fps depending on your content
- Choose H.264 as the codec
- Bitrate — leave it on Recommended or bump it up slightly for better quality
- Pick where you want to save the file on your computer
- Click Export and let it run
Done. That covers the full process. Using CapCut PC on Windows or a laptop gives you a clear export window that is easy to read. It is much more comfortable than a phone.
Best CapCut Export Settings for YouTube
YouTube is a bit different from other platforms. It compresses your video after upload so you want to upload at a high enough quality that even after compression it still looks good.
Here are the settings I’d recommend:
| Setting | What To Use |
| Resolution | 1920×1080 or 3840×2160 (4K) |
| Frame Rate | 30fps standard, 60fps for gaming/action |
| Codec | H.264 |
| Bitrate | 10 to 20 Mbps for 1080p |
| Format | MP4 |
| Audio | AAC at 320kbps |
One thing people get wrong — they push bitrate super high thinking YouTube will keep it. YouTube recompresses everything. So anything above 20 Mbps for 1080p is kind of overkill. You’ll just have a bigger file for no reason.
How To Export on CapCut Mobile — Android Too?
So you’re on your phone and want to get the video out. Here’s how to export on CapCut mobile in the simplest way.
Go to the editing screen and find the share icon at the right tap the share icon at the top right of the editing screen the editing screen will have the resolution and the frame rate sliders there. Set them to what you want. Hit Export. Done — it saves straight to your gallery.
The budget Android devices can have a time when exporting videos in 1080p particularly if the Android phone video is very lengthy. In that case try 720p. The file comes out smaller, exports faster, and honestly for TikTok and Reels it still looks fine.
You can also grab the CapCut app download for android to make sure you have the latest version with all current export features included.
How To Export Videos in CapCut Without Joining Pro?
Big question. Do you need Pro? Mostly no.
Free version gives you 1080p export. That covers almost everything most people need. The things behind the paywall are stuff like 4K export, really high custom bitrates, and certain templates or effects. If you’re not doing high-end work, free is fine.
To export video from CapCut free — just open the export screen and don’t tap anything that has a crown or lock icon next to it. Those are Pro features. Stick to the unlocked options and you’re good. 1080p, 30fps, H.264. Works every time.
For more guides like this one, go check out the Visit Blog — lots of useful stuff there about CapCut tips and tricks.
How To Export High Quality Video in CapCut PC?
Okay so if you do want the best possible quality on your desktop, here’s what to do.
- If your footage is 2K or 4K original, export at that resolution — don’t downscale unnecessarily
- 60fps for anything with movement — sports, gameplay, cinematic b-roll
- Bitrate — go Custom and type in 20 to 30 Mbps. That’s a solid range for high quality
- H.265 codec if you can — smaller file, same or better quality. But H.264 is safer for compatibility
- Double check your aspect ratio before exporting. Mismatch here causes black bars or cropping
I think 1080p videos are really good even if you are using the plan. This is because 1080p with a bitrate gives excellent results. The difference between done 1080p and poorly done 1080p is bigger than expected when it comes to 1080p.
CapCut APK on Android gives you the option to adjust some of these settings while working on mobile.
How To Export CapCut Video in Gallery?
After you hit export — where does the video actually go? On mobile it should land in your gallery automatically. But sometimes it takes a second to appear.
If you can’t find it:
- Give it 10-20 seconds and refresh your gallery app
- On Android, check your internal storage under DCIM or a CapCut folder
- On iPhone go to Photos and look under Recents
- If it’s still not there, make sure CapCut has permission to save to your gallery in your phone settings
If the export failed partway — this usually means your storage is full or the app lost permission somewhere. Free up some space and try again.
How To Export CapCut Project to Another Device?
Sometimes you edit on your phone and want to continue on your laptop, or the reverse. The good part is that CapCut has cloud backup built in.
Here’s how to export CapCut project to another device:
- Open your project and tap the three-dot menu
- Look for “Back up to cloud” or “Save project to cloud”
- Let it upload — keep Wi-Fi on for this
- Open CapCut on your other device and log into the same account
- Your project should appear under cloud backups
- Open it and continue editing or export from there
Your footage, edits, audio — all of it comes over. Pretty handy if you switch devices often.
CapCut Pro mod apk Download is worth checking out if you want to try Pro features for yourself and see what the extra export options feel like.
How To Export Video on CapCut Pro?
If you’ve got Pro, the process is the same but you unlock more stuff. Specifically:
- 4K export becomes available
- You can push bitrate higher than the free tier allows
- Export speed can be faster depending on your device
- Pro templates export without any watermark
Just open the export screen like normal. With Pro active, you’ll see those previously locked options are now available. Pick what you want and hit Export.
If you use Mac, the CapCut for Mac version works exactly the same way — log in with your Pro account and all those export options unlock right away.
Conclusion
So that’s everything you need to know about how to export my custom resolution video on CapCut. Doesn’t matter if you’re on iPhone, Android, PC, or Mac — the steps are manageable and once you’ve done it a couple times it becomes second nature.
Free plan works fine for most people. 1080p, 30fps, H.264 — that combination handles YouTube, Reels, TikTok, all of it. Try it on your next project and see how much better a proper export setup makes your content look.
Download CapCut Pro latest version for full control over how your videos are created.
Frequently Asked Questions
Can I export a custom resolution video on CapCut for free?
Yes you can. Standard resolutions like 1080p are available on the free plan without any issues. Some higher options like 4K are locked behind Pro. But for everyday content — social media, YouTube, personal projects — the free export settings work really well and look good.
Why is my CapCut export blurry even at 1080p?
Usually this comes down to two things — either the original footage you imported was already low quality, or your bitrate setting is too low during export. Try bumping up the bitrate in export settings. Also make sure your raw clips were actually shot at 1080p or higher before you brought them in.
How do I export my CapCut video without a watermark?
Some free exports — especially ones using Pro templates — add a watermark. To avoid this, either subscribe to Pro or stick to non-Pro effects and templates in your project. Some users say that they start with a project. They do not use a made template. This helps them remove the watermark on the plan.
What resolution should I use when exporting CapCut videos for Instagram?
You should choose 1080×1920 for Instagram Reels and Stories. Instagram likes videos so this size is a good choice. For feed posts use 1080×1080. This is the format that works well. Stick with 30 frames per second and H.264. These settings will give you quality after you upload your video to Instagram.
Does CapCut lower video quality when you export?
The video quality is affected a bit especially when you use the app on your phone. The app uses compression during export, which can make the video quality lower. To reduce this you should raise the bitrate. Select the H.264 or H.265 codec. A PC usually exports than a mobile device especially for projects that need high quality.
How long does a CapCut export usually take?
The export time for a video is different, for every device. It also depends on the export settings you choose. For example a short video that is one minute long and is 1080p will take one to two minutes to export on a new phone. On PC it goes faster. Longer videos, 4K resolution, or 60fps all add time. If it feels really slow, try closing other apps running in the background — that frees up processing power for the export.